Creating a Nursery Design - A Step-by-Step Guide
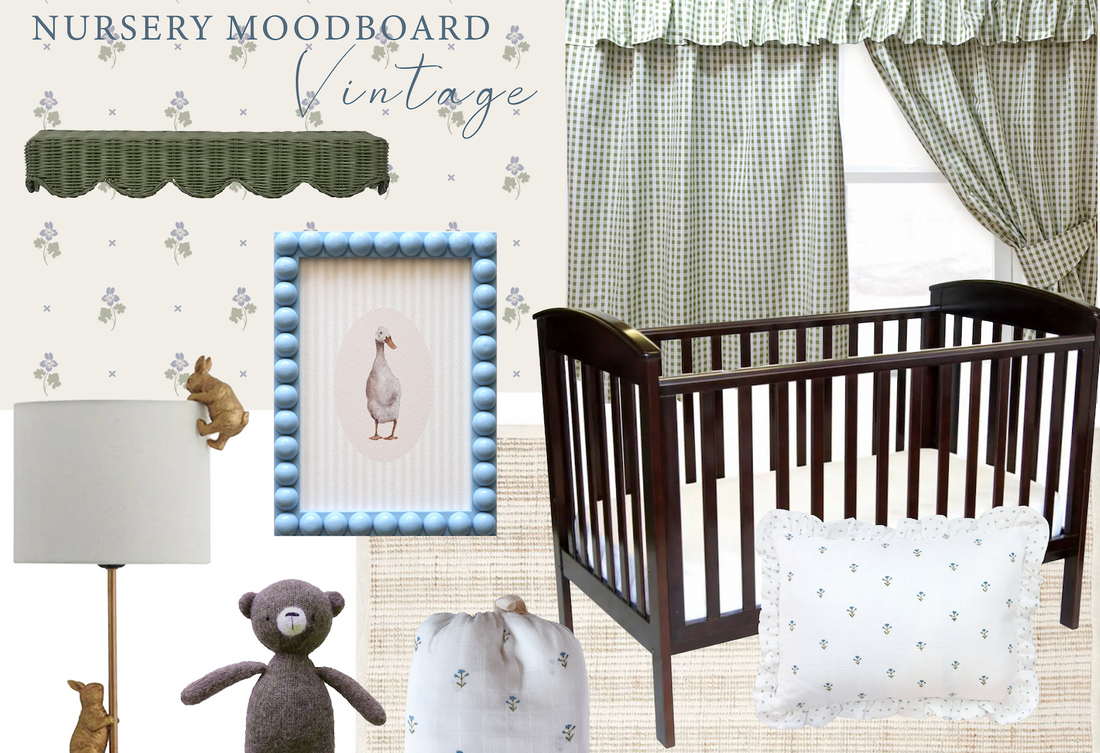
Creating a nursery is a very exciting time, however, with all the choices and different styles available, it can feel very daunting and often expecting parents don't know where to start. This guide will give you a starting point and a step by step guide on where to start when creating a nursery space, the same method can be used in any room. For this Nursery mood board we have drawn inspiration from a vintage inspired artwork.

The charm of vintage pieces lies in their timeless beauty and the sense of nostalgia they carry. By starting with a classic painting and drawing out its main color palette, you can build a serene, stylish nursery that echoes the gentle sophistication of muted tones. In this blog post, we will walk you through the process of designing a nursery from an artwork, selecting a color palette, and choosing furnishings that bring your vision to life.
Step 1: Choose Your Artwork
The first step in creating a nursery is selecting an artwork that speaks to you. It could be an old oil painting, a print, or a watercolor. The key is to choose a piece with colours and a style that you love and that will inspire the rest of the room’s design.
Tips for Choosing Artwork:
- Consider the Mood: Vintage artwork often has a serene, nostalgic quality. Look for pieces that evoke a calming and gentle atmosphere.
- Focus on Colours: Select a piece with a palette that you find appealing. Soft pastels, muted earth tones, and gentle neutrals are ideal for a nursery.
- Check for Themes: Artwork featuring nature, animals, or whimsical elements can add a touch of magic to the nursery.
Example:

We have chosen this 'Duck print' it has a beautiful nostalgic quality, and the frame gives the artwork a lovely pop of colour that we can extract to style the rest of the room.
Step 2: Extract the Colour Palette
Once you have your artwork, the next step is to extract the main colours from the piece. This palette will guide your choices for the nursery’s walls, furniture, and accessories.
How to Extract Colours:
- Digital Tools: Use a colour picker tool online to select colors directly from a digital image of your artwork. Websites like Adobe Colour can help you create a cohesive palette.
- Manual Selection: Identify the dominant colours and any accent hues. Note the subtle variations in shades to maintain a muted and harmonious look.
Example Palette:
From our 'Duck print', you might extract the following main colours:


The other thing to consider, is whether you would like to add some colours, for this nursery we wanted to add some vintage green to bring nature inside (green is also a very calming colour), so this is the colour palette we are going to use:

It's also important to note that these will not be the only colours in the room, you could choose a a lighter green in the same hue, for example, but this is the starting point that will influence the room.
Step 3: Choose the Wall Colours
Your extracted palette will serve as a foundation for choosing the nursery’s wall colours. Muted tones are ideal for creating a calming environment conducive to sleep and relaxation.
Tips for Wall Colours:
- Light and Airy: Opt for lighter shades to make the room feel spacious and bright. Soft blues or warm creams work beautifully in nurseries.
- Accent Walls: Consider using a deeper shade from your palette for an accent wall to add depth and interest without overwhelming the space.
- Wallpaper: Wallpaper is a lovely addition to any nursery space, if you do choose to add wallpaper - choose something that feels calm, but creates texture and interest in the room.
- Finish Matters: Matte finishes can create a soft, soothing effect, while a satin finish adds a touch of elegance.
Example:
For this nursery, we could paint the walls in a soft off white from the palette above and then we have chosen a wallpaper that we think would suit the tones from our artwork and palette.
**You can also do step 3 and 4 the other way around. Sometimes you may have a few pieces of furniture already, so then you can use paint and wallpaper to tie the space together.

Step 4: Select the Furnishings
With your colour palette in hand, choose furnishings that complement the overall theme and maintain the charm of your artwork.
Essential Furnishings:
- Crib: A classic wooden crib can serve as the room's focal point. We chose a deep wood, with a vintage style. (Cot)
- Changing Table: Select a changing table that matches the crib style - it doesn't have to match, just be in the same style.
- Nursery Chair: Choose a vintage or vintage-inspired chair in a colour that fits your colour palette - or has a pattern with some colours to tie together. Add cushions in for extra comfort and a pop of color. *Note if you chair is plain you can work with detailed cushions, if it is patterned it is advised to work with more simple cushions that may pick up a colour from the pattern.
Accessory Ideas:
- Rugs: Choose a soft, patterned rug incorporating colors from your palette to tie the room together. This is the rug we chose (Rug)
- Lighting: A vintage-style table lamp, we chose one that incorporates rabbits for a playful element. Soft-glowing table lamps will add a warm, inviting feel. (Rabbit light)
- Art and Decor: Frame and hang your chosen vintage artwork. Add complementary shelving, vintage prints or soft, whimsical decals.
Step 5: Add Textiles and Accessories
Textiles and accessories are the finishing touches that bring warmth and personality to the nursery.
Textiles:
- Bedding: Choose crib sheets and blankets in tones that match your palette. Delicate patterns like subtle florals or little creatures will add interest without being overpowering. Here is the bedding we chose Cot sheet, Heirloom blanket, Cotton blanket.

- Curtains: Opt for light, airy fabrics in colours like Soft muted neutrals, vintage Blues or Gentle Sage Green to maintain a bright and open feel. *I will add that with little ones light is always something to consider (especially in Australia) so layering curtains is a great idea - with a blockout curtain or blind behind and then a soft curtain in the front. We chose these beautiful Green Gingham Curtains.
Accessories:
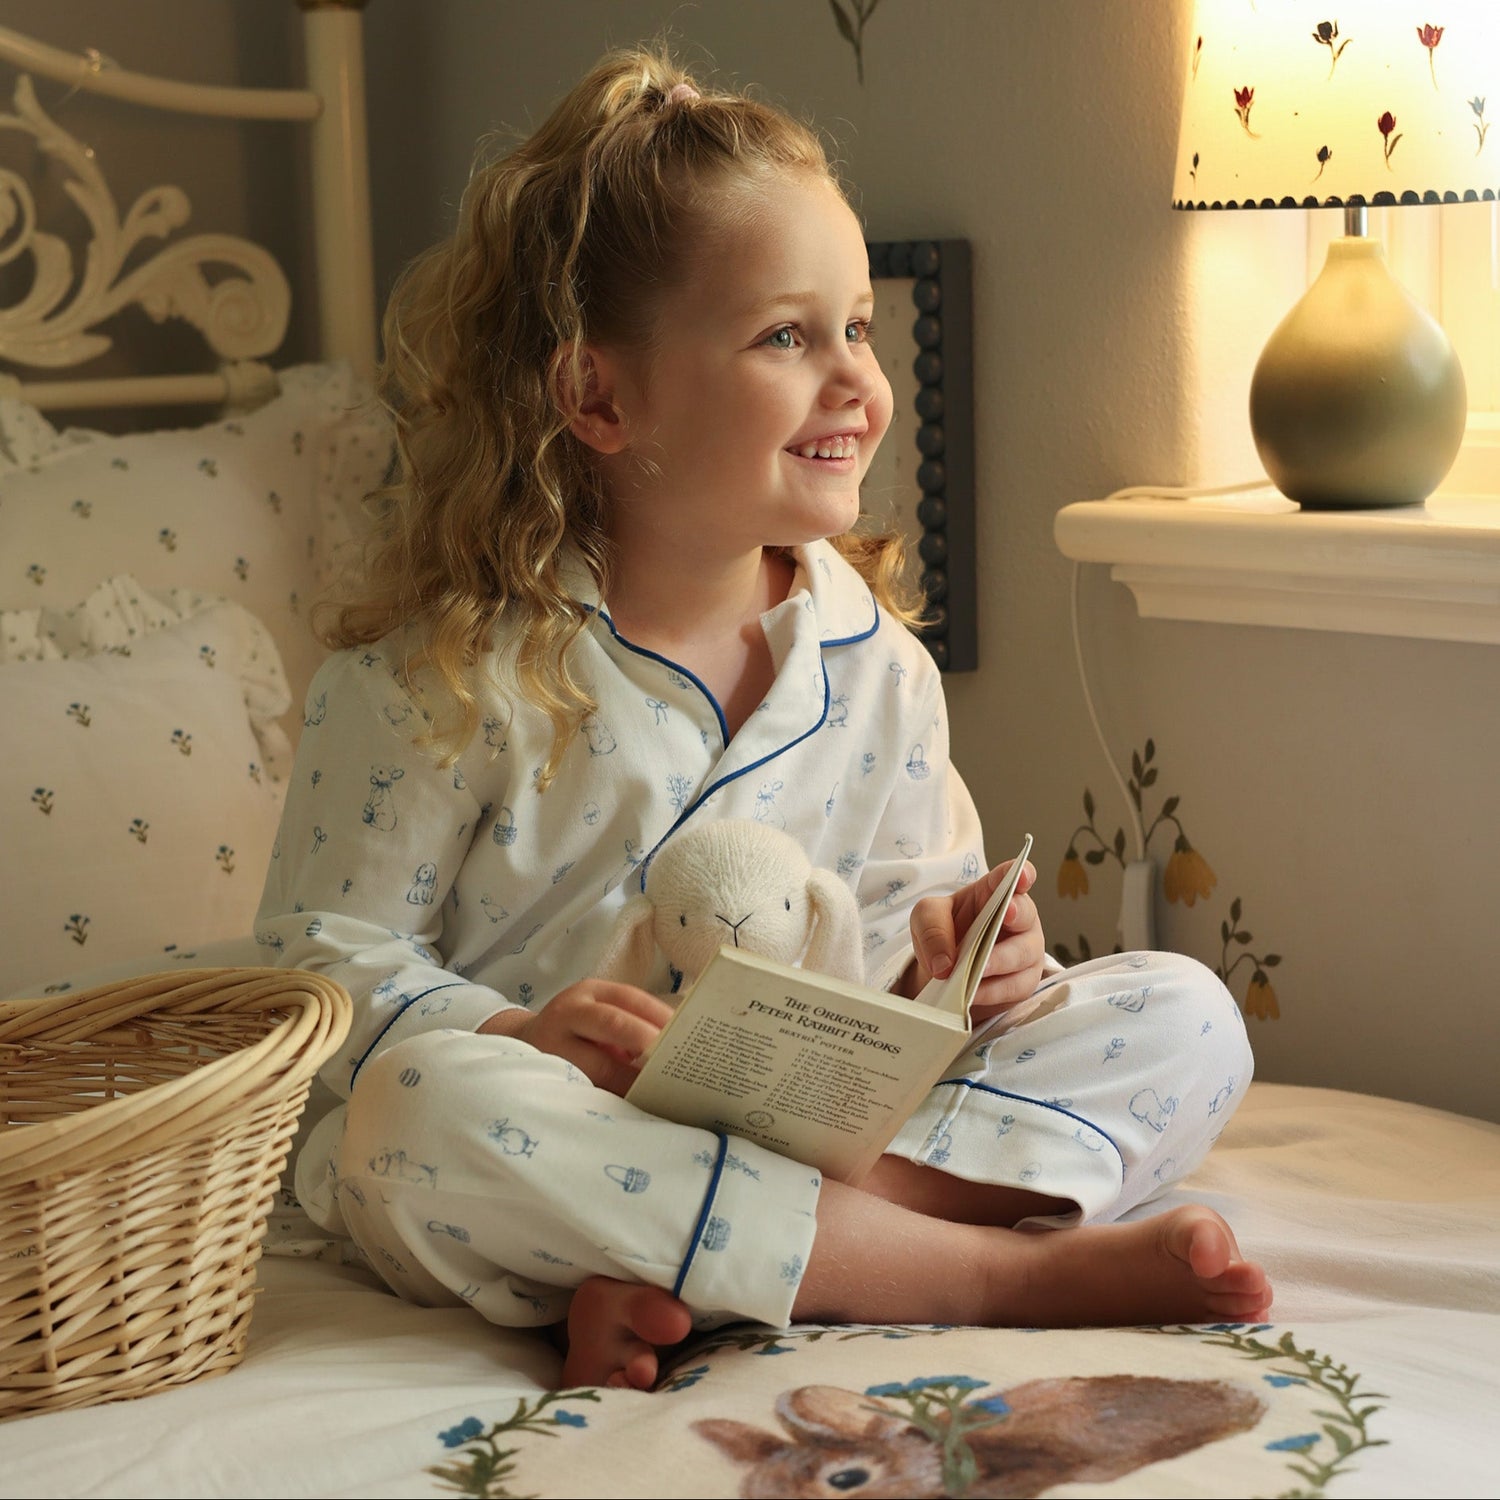
- Soft Toys: Incorporate vintage-style soft toys or stuffed animals in coordinating colors to enhance the nostalgic feel (Teddy)

Conclusion
Creating a nursery inspired by vintage artwork is a wonderful way to blend timeless elegance with a cozy, inviting atmosphere for your little one. By carefully selecting a piece of art and drawing out its color palette, you can design a space that is both beautiful and calming. Remember to focus on muted tones, furnishings that suit the style an palette and delicate textiles to achieve a cohesive and charming nursery that will grow with your child.
See below for our complete list of products for this beautiful, vintage inspired nursery:
Wallpaper - Sandberg wallpaper
Cot - Baby Bunting
Rug - Pottery Barn Kids
Table lamp - The Lighting Outlet
Scalloped Wall Shelf - Living Styles
Green Gingham Curtains - Etsy
Wavy pot - Straw
Basket - French Knot
Duck in Stripe print - Fledge and Thread
Cot sheet - Fledge and Thread
Heirloom Blanket - Fledge and Thread
Cotton knitted blanket - Fledge and Thread
Floral cushion - Fledge and Thread
Teddy Bear - Fledge and Thread
Happy planning!
As always, we are here to help, so if you have any questions send us an email at hello@fledgeandthread.com.au